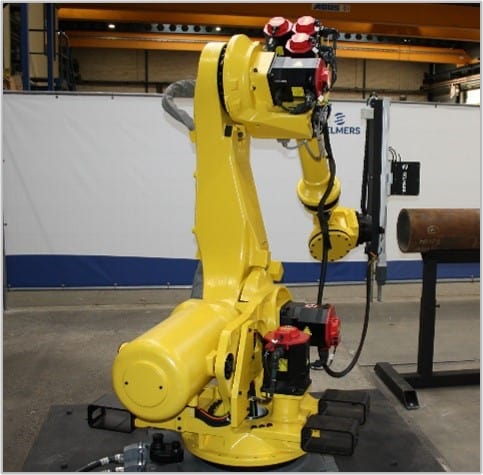
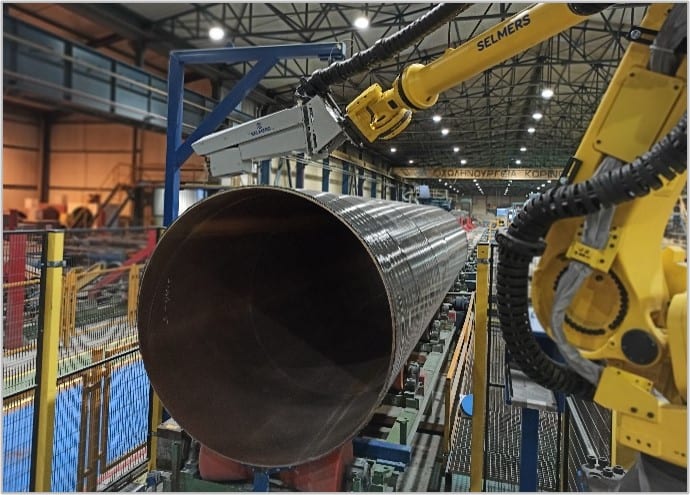
Selmers Robotic Pipe End Measurement System (PEMS) automatically measures pipe bevel geometry and out of roundness at the pipe ends. The system produces a dimensional inspection report containing critical dimension and stores these to preferred storage media. Every measurement report can contain up to 360 dimensions for inner radius, outer radius, out of roundness, wall thickness, chamfer angle, land width and weld seam position. All this data can be used in Selmers data processing unit to compare different pipe ends, and propose best fit-up for pipes from a production batch, e.g. prior to welding.
Advantages:
Self-adaptive to the pipe position
Autonomous system, no need for settings or adjustments by personnel
Automatic calibration sequence
360° measurement for seven properties of the pipe end
Simple to operate, no robotics expertise required!
How it Works
The PEMS starts by performing a calibration cycle of the measurement tool to compensate for any deviations. Once this cycle has been completed, the measurement cycle can start. The system then searches for the pipe position by performing a cross coordinate edge and diameter detection. This function compensates for any deviation caused by positioning errors of the pipe itself in relation to the measurement systems position. Once the position and diameter have been determined, a full rotation is made with the measurement head, storing all relevant data to the storage medium. Upon completion of the measurement cycle, a report is generated.
The Full Scope:
Industrial robotic system
Secured work environment
Calibration equipment
Measurement tool
Data storage


